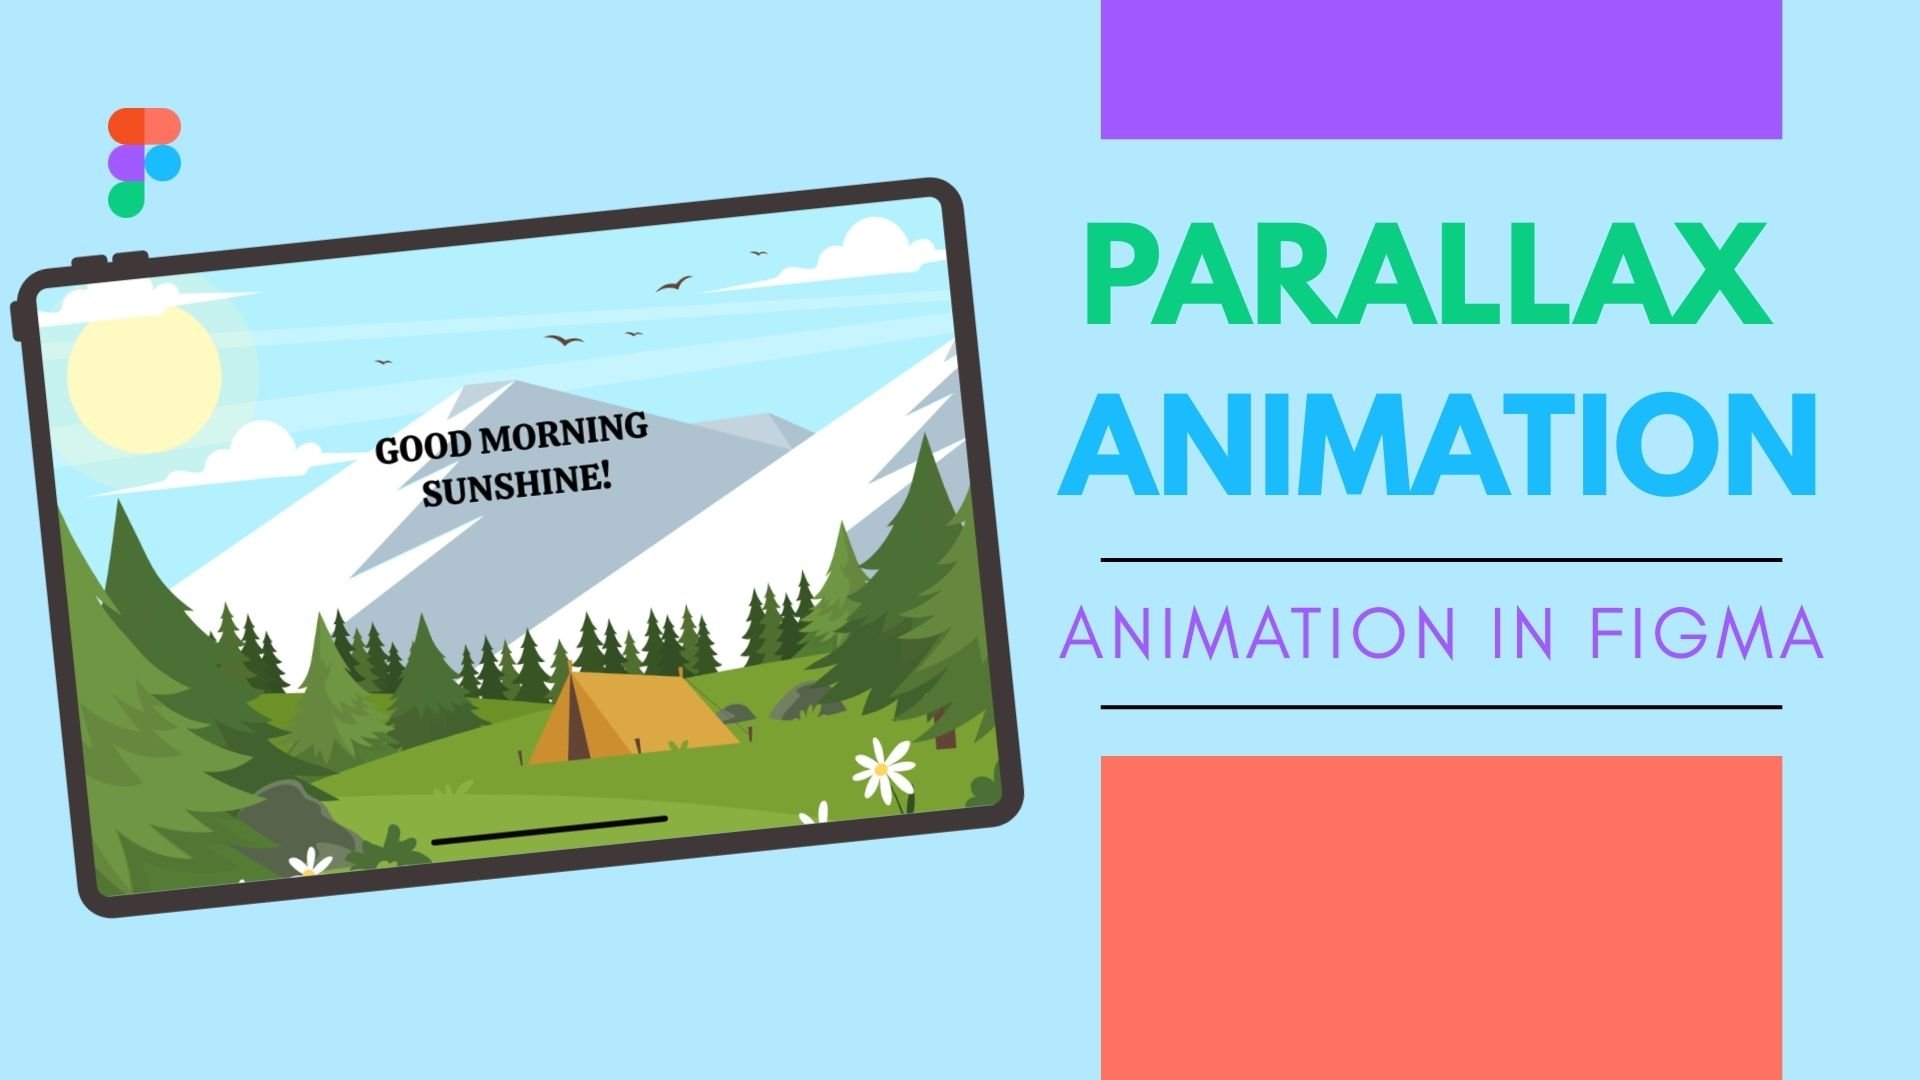
Want to create eye-catching animations that instantly grab attention? In this class, you’ll learn how to design and animate stunning parallax animations in Figma, even if you’re a beginner.
This is a complete design-to-animation workflow, where you’ll not only animate—but also learn how to design professional vector scenes from scratch and prepare them for smooth motion.
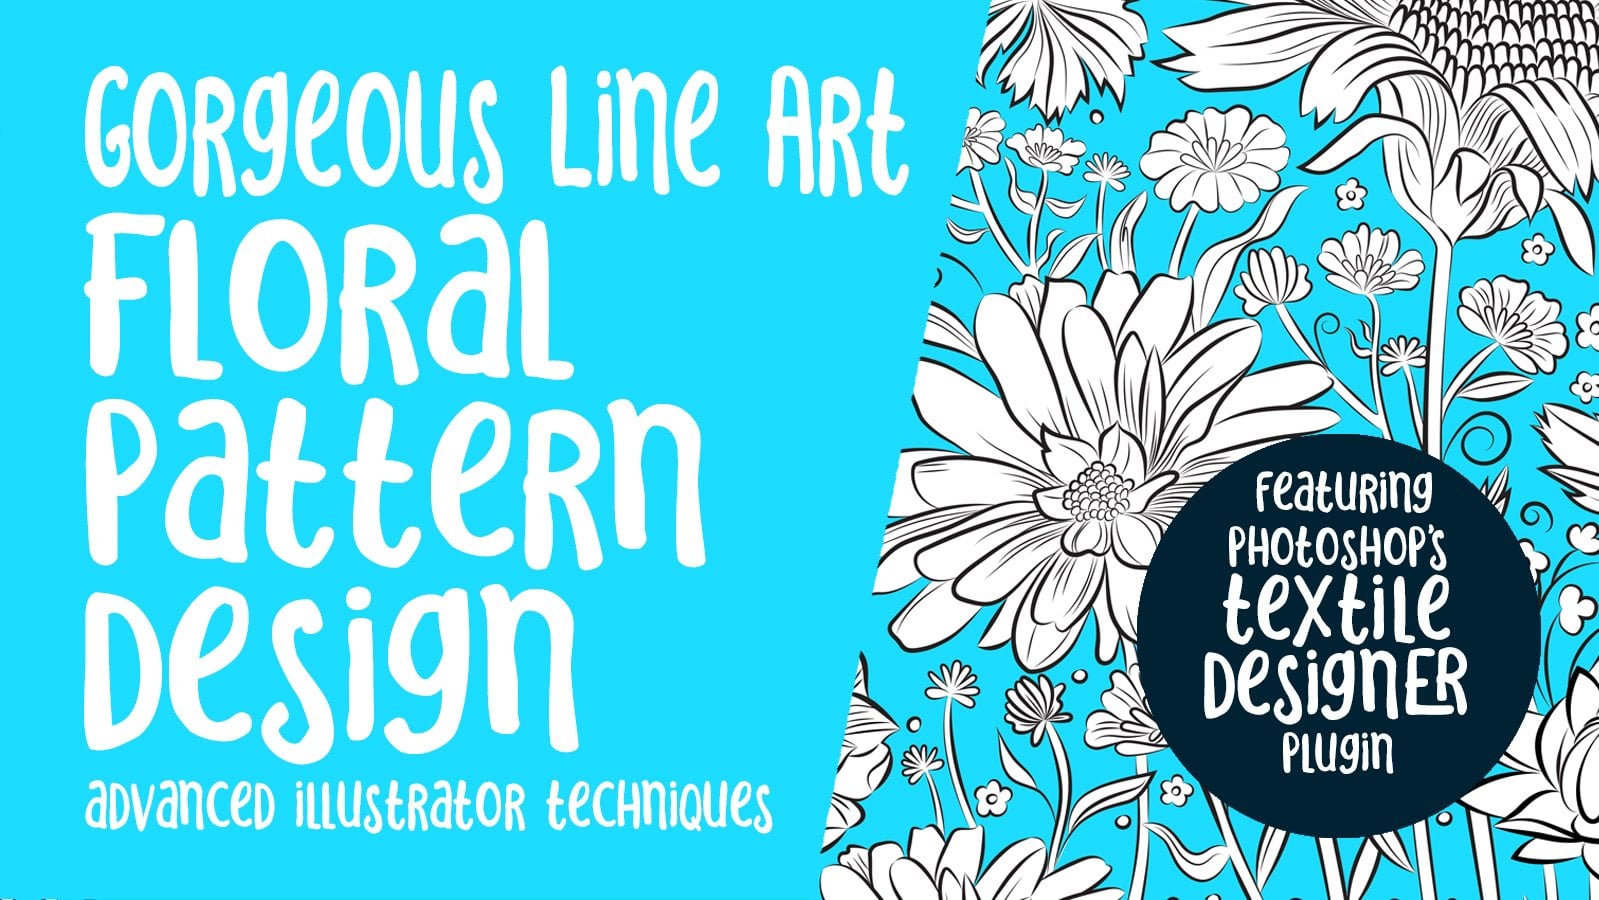
We’ll start by creating clean and scalable vector elements in Adobe Illustrator, refining details, adding depth, and organizing layers for animation. Then, you’ll bring everything into Figma and transform your static design into a dynamic parallax animation with depth and movement.
By the end of this class, you’ll have a fully animated project that you can showcase in your portfolio, use in UI/UX projects, social media, or client work.
🚀 What You’ll Learn
- How to design vector elements for animation using Illustrator
- Preparing and structuring layers for parallax effect
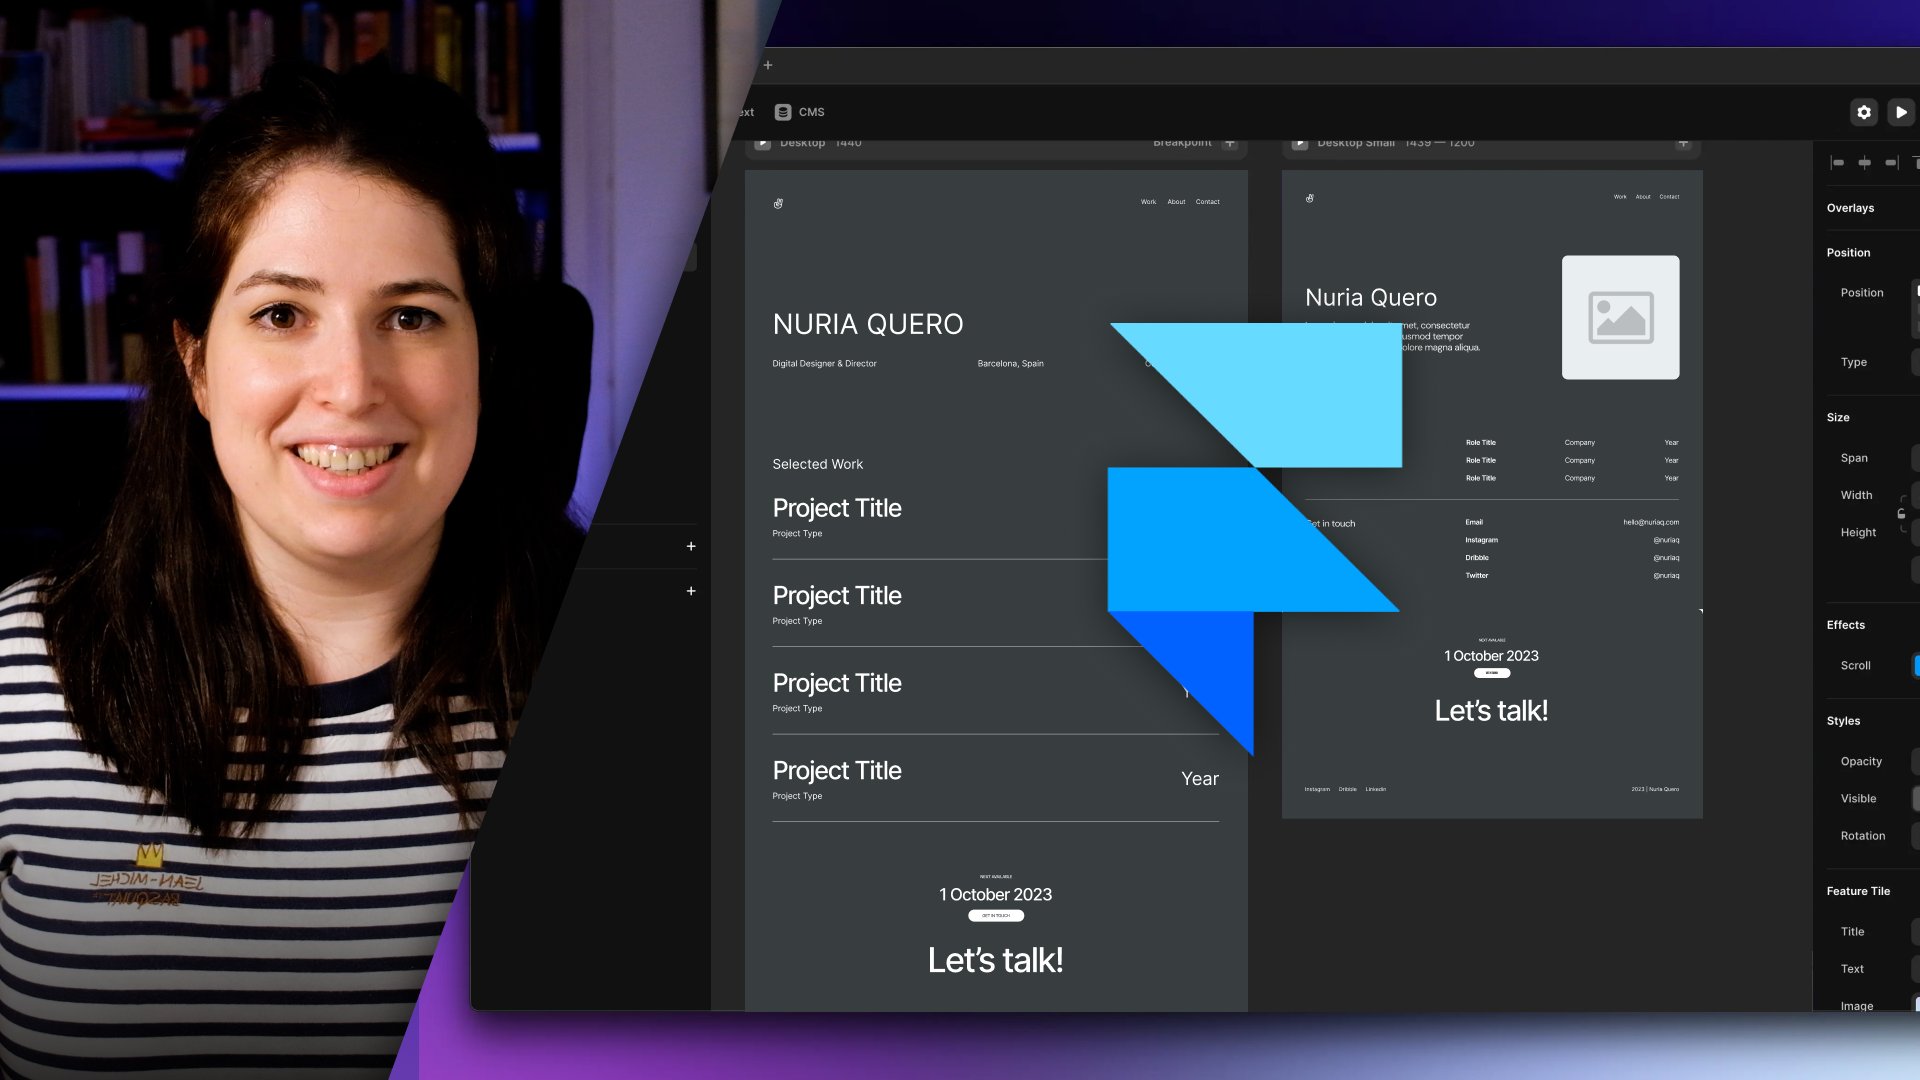
- Importing and organizing designs inside Figma
- Creating smooth parallax animations step-by-step
- Using depth, spacing, and motion to make designs feel alive
- Exporting and presenting your animated project
🎯 Who This Class is For
- Beginners who want to start with Figma animation
- Designers looking to add motion design skills to their toolkit
- UI/UX designers who want to create engaging visuals
- Content creators who want scroll-stopping animated designs
📌 Why You Should Take This Class
Parallax animation is one of the most in-demand skills in modern design. Learning how to combine Illustrator + Figma workflow will give you a strong creative edge and help you stand out with dynamic, professional-looking designs.
🛠 Tools You’ll Need
- Figma (free account works perfectly)
- Adobe Illustrator (for vector design)
- Basic design knowledge (helpful but not required)